
mariadbを使ってデータベースを構築します

mariadbインストール
# dnf install mariadb-server
mariadb設定
文字セットの変更
デフォルトの文字セットをutf8mb4に変更します
# vi /etc/my.cnf.d/mariadb-server.cnf

[mysqld]
datadir=/var/lib/mysql
socket=/var/lib/mysql/mysql.sock
log-error=/var/log/mariadb/mariadb.log
pid-file=/run/mariadb/mariadb.pid
character-set-server = utf8mb4 ←追加
# vi /etc/my.cnf.d/client.cnf

[client]
default-character-set=utf8mb4
サービス起動と自動起動
サービスを起動します
# systemctl start mariadb
# systemctl enable mariadb
初期設定
初期設定をしていきます
# mysql_secure_installation

NOTE: RUNNING ALL PARTS OF THIS SCRIPT IS RECOMMENDED FOR ALL MariaDB
      SERVERS IN PRODUCTION USE!  PLEASE READ EACH STEP CAREFULLY!

In order to log into MariaDB to secure it, we'll need the current
password for the root user. If you've just installed MariaDB, and
haven't set the root password yet, you should just press enter here.

Enter current password for root (enter for none): ←空エンター
OK, successfully used password, moving on...

Setting the root password or using the unix_socket ensures that nobody
can log into the MariaDB root user without the proper authorisation.

You already have your root account protected, so you can safely answer 'n'.

Switch to unix_socket authentication [Y/n] ←空エンター
Enabled successfully!
Reloading privilege tables..
 ... Success!


You already have your root account protected, so you can safely answer 'n'.

Change the root password? [Y/n] ←空エンター
New password:           ←パスワード設定
Re-enter new password:      ←パスワード設定(確認)
Password updated successfully!
Reloading privilege tables..
 ... Success!


By default, a MariaDB installation has an anonymous user, allowing anyone
to log into MariaDB without having to have a user account created for
them.  This is intended only for testing, and to make the installation
go a bit smoother.  You should remove them before moving into a
production environment.

Remove anonymous users? [Y/n] ←空エンター
 ... Success!

Normally, root should only be allowed to connect from 'localhost'.  This
ensures that someone cannot guess at the root password from the network.

Disallow root login remotely? [Y/n] ←空エンター
 ... Success!

By default, MariaDB comes with a database named 'test' that anyone can
access.  This is also intended only for testing, and should be removed
before moving into a production environment.

Remove test database and access to it? [Y/n] ←空エンター
 - Dropping test database...
 ... Success!
 - Removing privileges on test database...
 ... Success!

Reloading the privilege tables will ensure that all changes made so far
will take effect immediately.

Reload privilege tables now? [Y/n] ←空エンター
 ... Success!

Cleaning up...

All done!  If you've completed all of the above steps, your MariaDB
installation should now be secure.

Thanks for using MariaDB!
phpMyAdminインストール
インストール
# wget -q https://www.phpmyadmin.net/downloads/phpMyAdmin-latest-all-languages.zip
# unzip phpMyAdmin-latest-all-languages.zip
open light speedではデフォルトのルートパスは/usr/local/lswsとなっています
本環境ではバーチャルホストを使用しており、/usr/local/lsws/[バーチャルホスト名]/で設定しているのでそこにphpMyAdminを移動します
# mv phpMyAdmin-5.2.1-all-languages/ /usr/local/lsws/[バーチャルホスト名]/phpMyAdmin
# rm -f phpMyAdmin-latest-all-languages.zip
# mv /usr/local/lsws/[バーチャルホスト名]/phpMyAdmin/{config.sample.inc.php,config.inc.php}
OpenLiteSpeedの設定変更
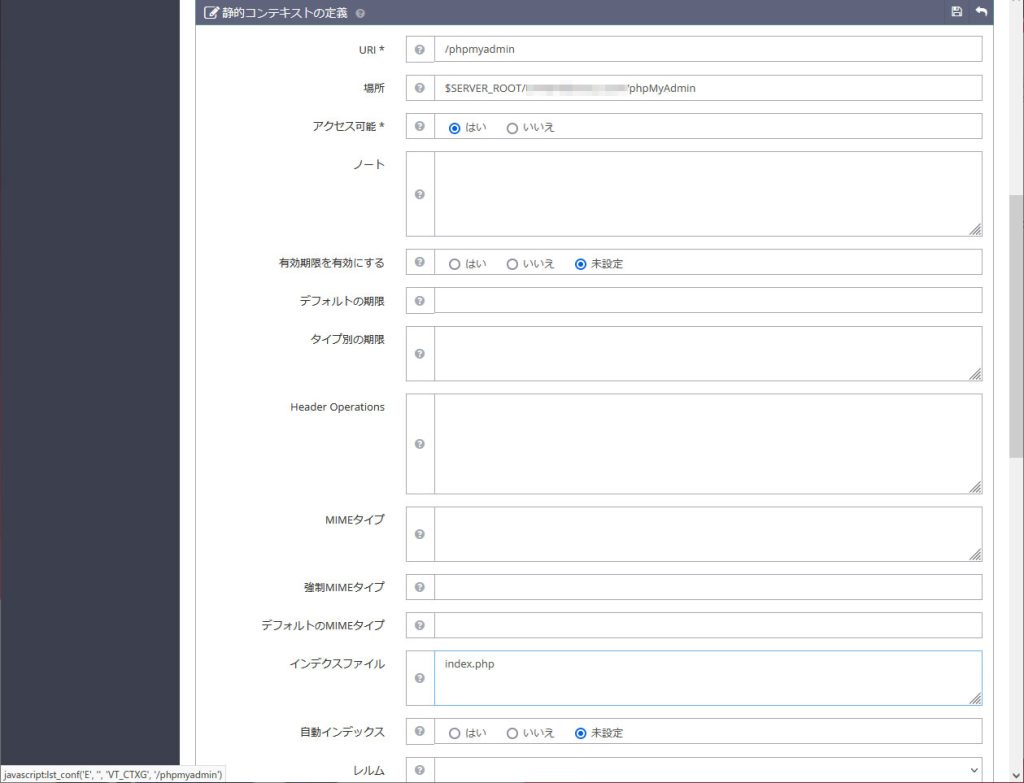
コンテキストの設定をします
タイプ:Static
URL:/phpmyadmin
場所:$SERVER_ROOT/[バーチャルホスト名]/phpMyAdmin
アクセス可能:はい
インデクスファイル:index.php
$SERVER_ROOTはopen lite speedがインストールされているディレクトリ(本環境では/usr/local/lsws)です
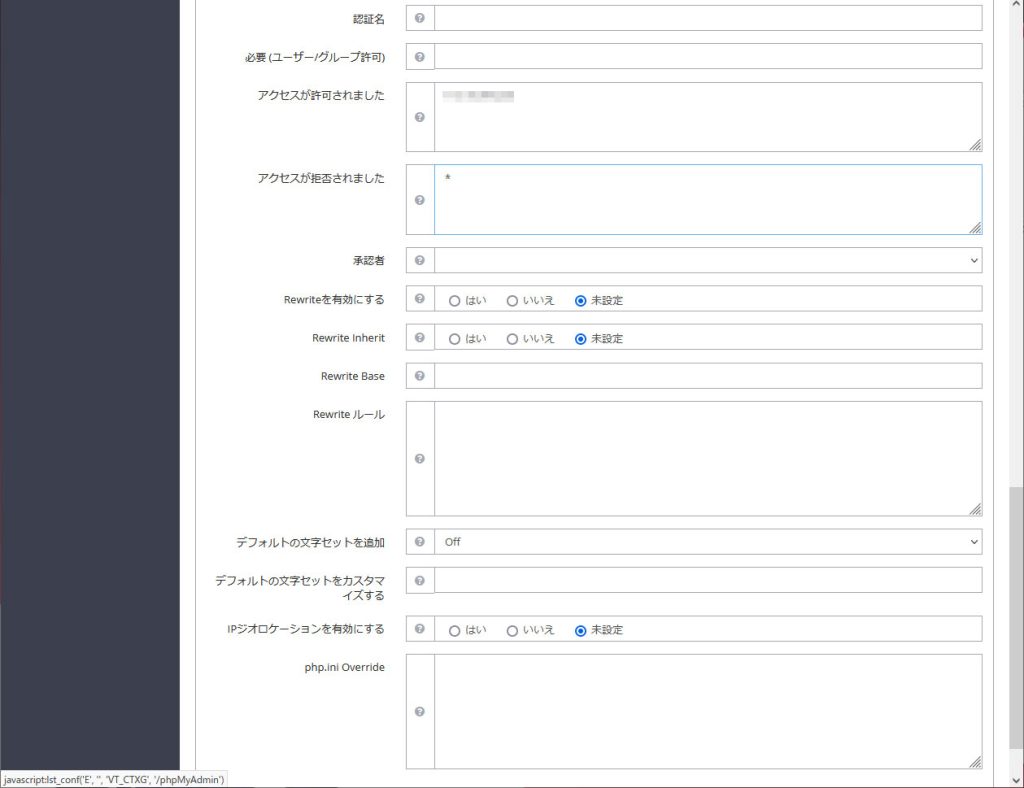
管理者しかログインできないようにしたいので下記の通り入力します
アクセスが許可されました:接続許可するIPアドレス
アクセスが拒否されました:*
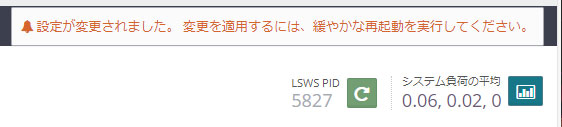
OpenLiteSpeedを再起動します
phpMyAdminエラー対応
phpMyAdminにログインします
ユーザー名はroot、パスワードは先ほどインストール時に指定したパスワードです
ログインすると色々とエラーが出ているので対処していきます
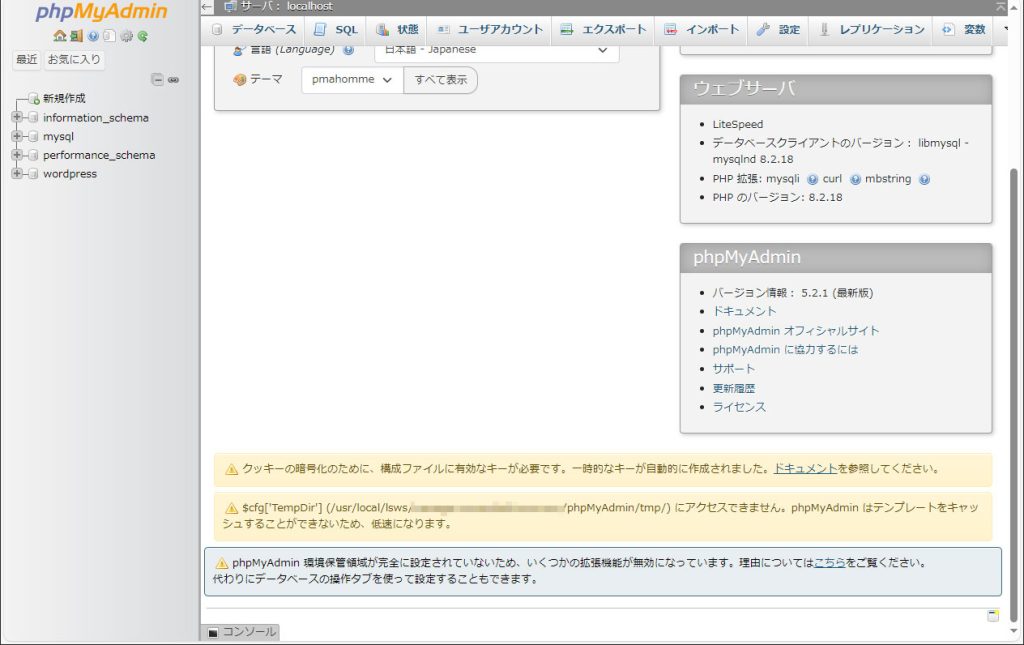
クッキーの暗号化
まずは「クッキーの暗号化のために~」のエラーに対処します
まずは、expect パッケージをインストールします
# dnf install expect
「mkpasswd-expect -l 32」で 32 桁のランダムな文字列が生成されますので、それをコピーします
# mkpasswd-expect -l 32
config.inc.php を編集します
blowfish_secret に上記でコピーした文字列を貼り付けます
# vi /usr/local/lsws/[バーチャルホスト名]/phpMyAdmin/config.inc.php

$cfg['blowfish_secret'] = 'xxxxxxxxxxxxxxxxxxxxxxxxxxxxxxxx' ← 貼り付ける
テンプレートキャッシュの有効化
「$cfg~テンプレートをキャッシュすることが~」のエラーに対応します
キャッシュ用のtmpディレクトリがないことによって出るエラーなので作成します
また、phpMyAdminのディレクトリごと所有者をnobodyに変更します
# mkdir /usr/local/lsws/[バーチャルホスト名]/phpMyAdmin/tmp
# chown -R nobody. /usr/local/lsws/[バーチャルホスト名]/phpMyAdmin
環境保管領域の設定
「phpMyAdmin保管領域~」のエラーに対処します
エラーに表示されている「こちら」箇所がリンクになっているのでクリックします
リンク先でphpMyAdmin環境保管領域と書かれたページに再度リンク「データベースを」がありますのでクリックします
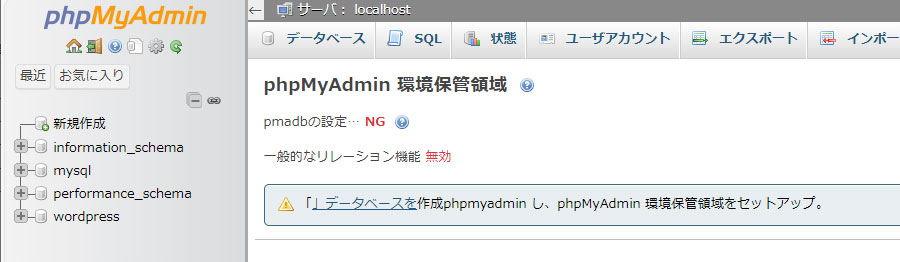
データベースが作成されますので、トップページへ戻りエラー表示がなくなっていることを確認します
バックアップ設定
mariadb-dumpを使用して、毎日深夜にバックアップを取得するようにします
スクリプトを作成します
# vi mariadb-backup.sh

#!/bin/bash

PATH=/usr/local/sbin:/usr/bin:/bin

# バックアップ先ディレクトリ
BACKDIR=/backup/mariadb

# MariaDBrootパスワード
ROOTPASS=xxxxxxxx

# バックアップ先ディレクトリ再作成
rm  -rf $BACKDIR
mkdir -p $BACKDIR

# データベース名取得
DBLIST=`ls -p /var/lib/mysql | grep / | tr -d /`

# データベースごとにバックアップ
for dbname in $DBLIST
do
    [ $dbname = "performance_schema" ] && continue
    table_count=`mysql -u root -p$ROOTPASS -B -e "show tables" $dbname|wc -l`
    [ $table_count -ne 0 ] &&
    mysqldump --events -u root -p$ROOTPASS $dbname > $BACKDIR/$dbname.sql | logger -t mysqldump
done
rootユーザーのみアクセスできるようにします
# chmod 700 mariadb-backup.sh
スクリプトが正しく動作するか確認します
バックアップディレクトリにデータベースが取得されていればOKです
# sh mariadb-backup.sh

# ll /backup/mariadb/
-rw-r--r-- 1 root root  2084503  4月 17 13:53 mysql.sql
-rw-r--r-- 1 root root    18114  4月 17 13:53 phpmyadmin.sql
cronを設定します
時間は朝5時に設定していますが運用に合わせて適宜変えてください
# echo "0 5 * * * root /root/mariadb-backup.sh" > /etc/cron.d/backup
参考
Red Hat Enterprise Linix 9 にデータベースサーバー(MariaDB)を構築する | Psychoco Laboratory
MariaDBデータベース自動バックアップ運用(mysqldump) – AlmaLinuxで自宅サーバー構築 (centossrv.com)
コメント